
Event Photography Workflow
I originally published this article on my personal website in 2020. Having reviewed it, I have republished it because I still believe it contains valuable information.
When I first started out in event photography, I created this chart to break everything down into manageable steps. In this blog post, I will therefore go through what happens before, during and after an event, and the different steps involved. As an outdoor sports, travel and event photographer, I will focus on outdoor sports events, such as mountain bike races, running events or freeride ski competitions. These events can span one or multiple days. Event photography can, of course, be handled in many different ways; this is simply what has worked for me, based on my experience and the types of events I cover. So here is a kind of recipe for event photography.
My event photography workflow in an overview.
Long term preparation
This step could also be called 'pre-production I'. I think there are four fields worthy of consideration:
The event itself
Location/course
Photo points and their impact on your equipment.
The office side of these things.
Firstly, consider the customer's requirements: what do they need? What story should be told? Which brands (not only the event brand, but also sponsors or partners) should be represented? Which pictures are an absolute must? Although it's still early days, a mood board can sometimes help answer these questions.
Next, I would take a preliminary look at the location, or, in the case of a bike or running competition, at the course. At this stage, you probably don't even have a contract yet, but it's still important to do this in some form, as it will influence your calculations. You need to know whether you have all the necessary equipment, what the rental cost would be and whether you can access all the required locations.
Once you have this information, you can make a calculation, write an offer and (hopefully!) sign a contract.
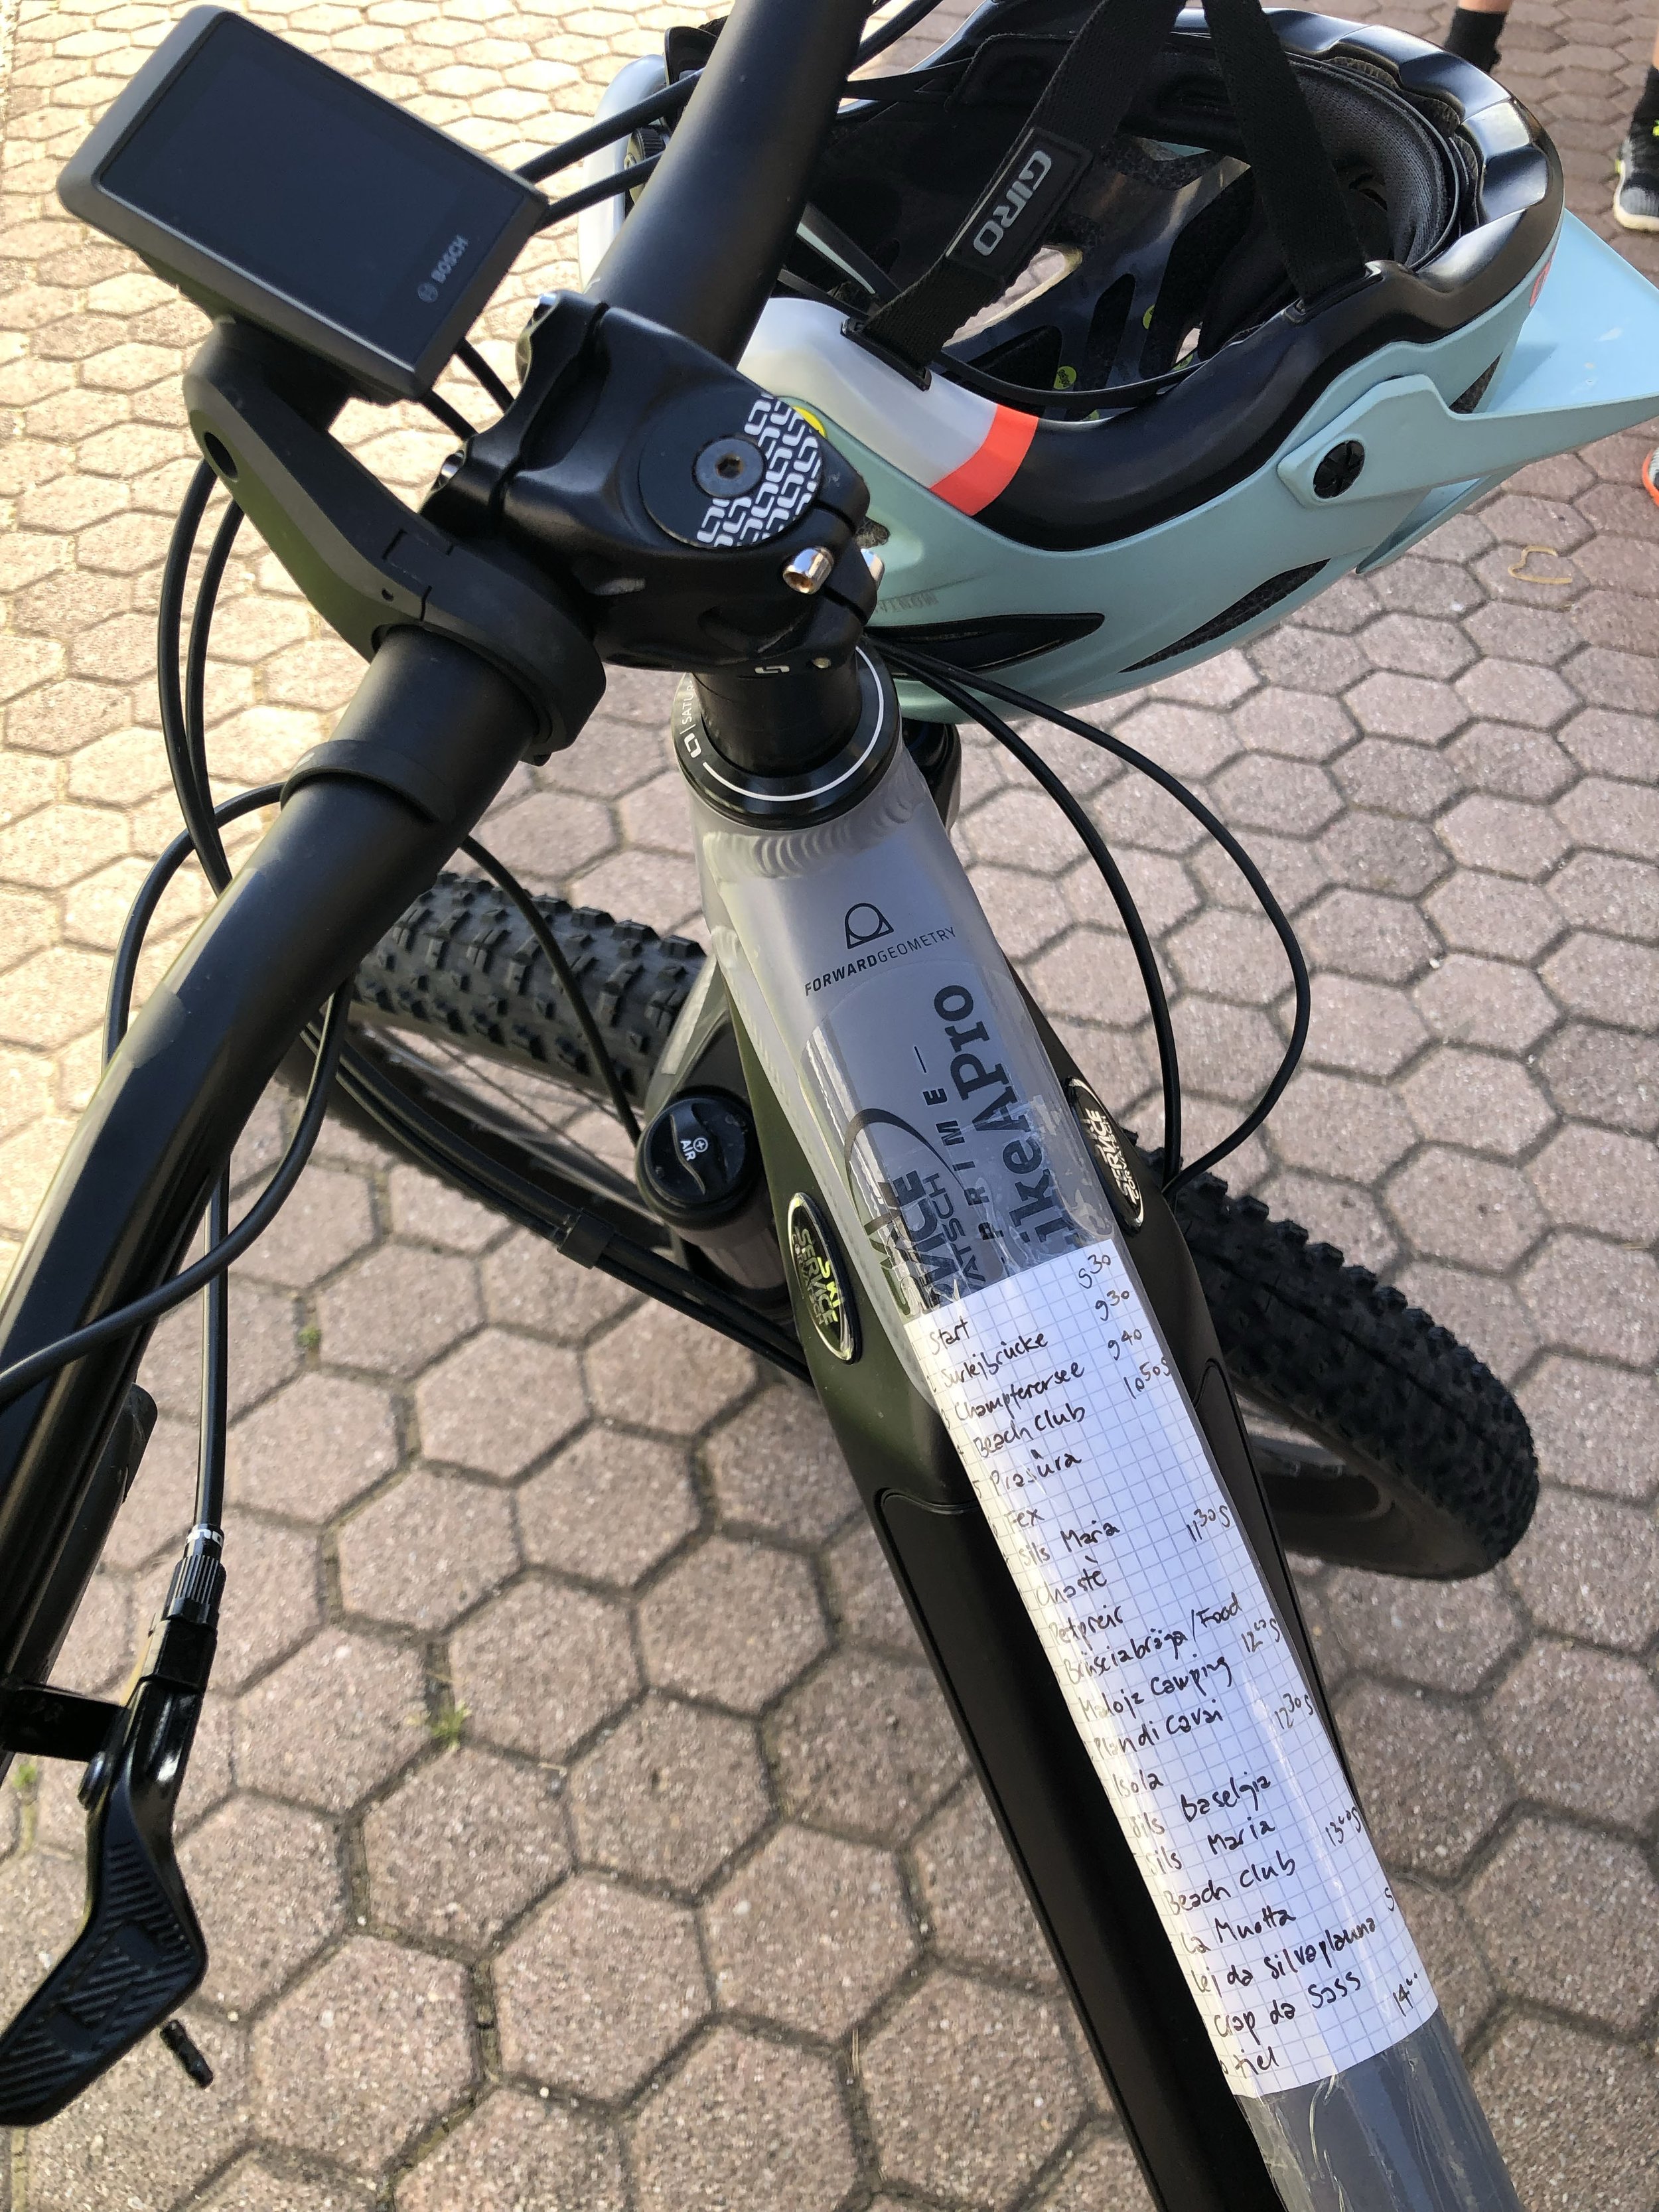
If you only have a rough idea of the kind of photos you want to take, now would be a good time to study GPS tracks and maps and download any essential information you can find about the event. You will want to know who will be there and who you will need to keep an eye on, as well as the estimated times that the athletes will take to complete the course. This can be a time-consuming process.
If you haven’t yet it would also be the time to start a specific workout programme tailored to the event's needs (consider endurance training or working on your skills for the type of sport required to shoot the event).
Short-time preparation
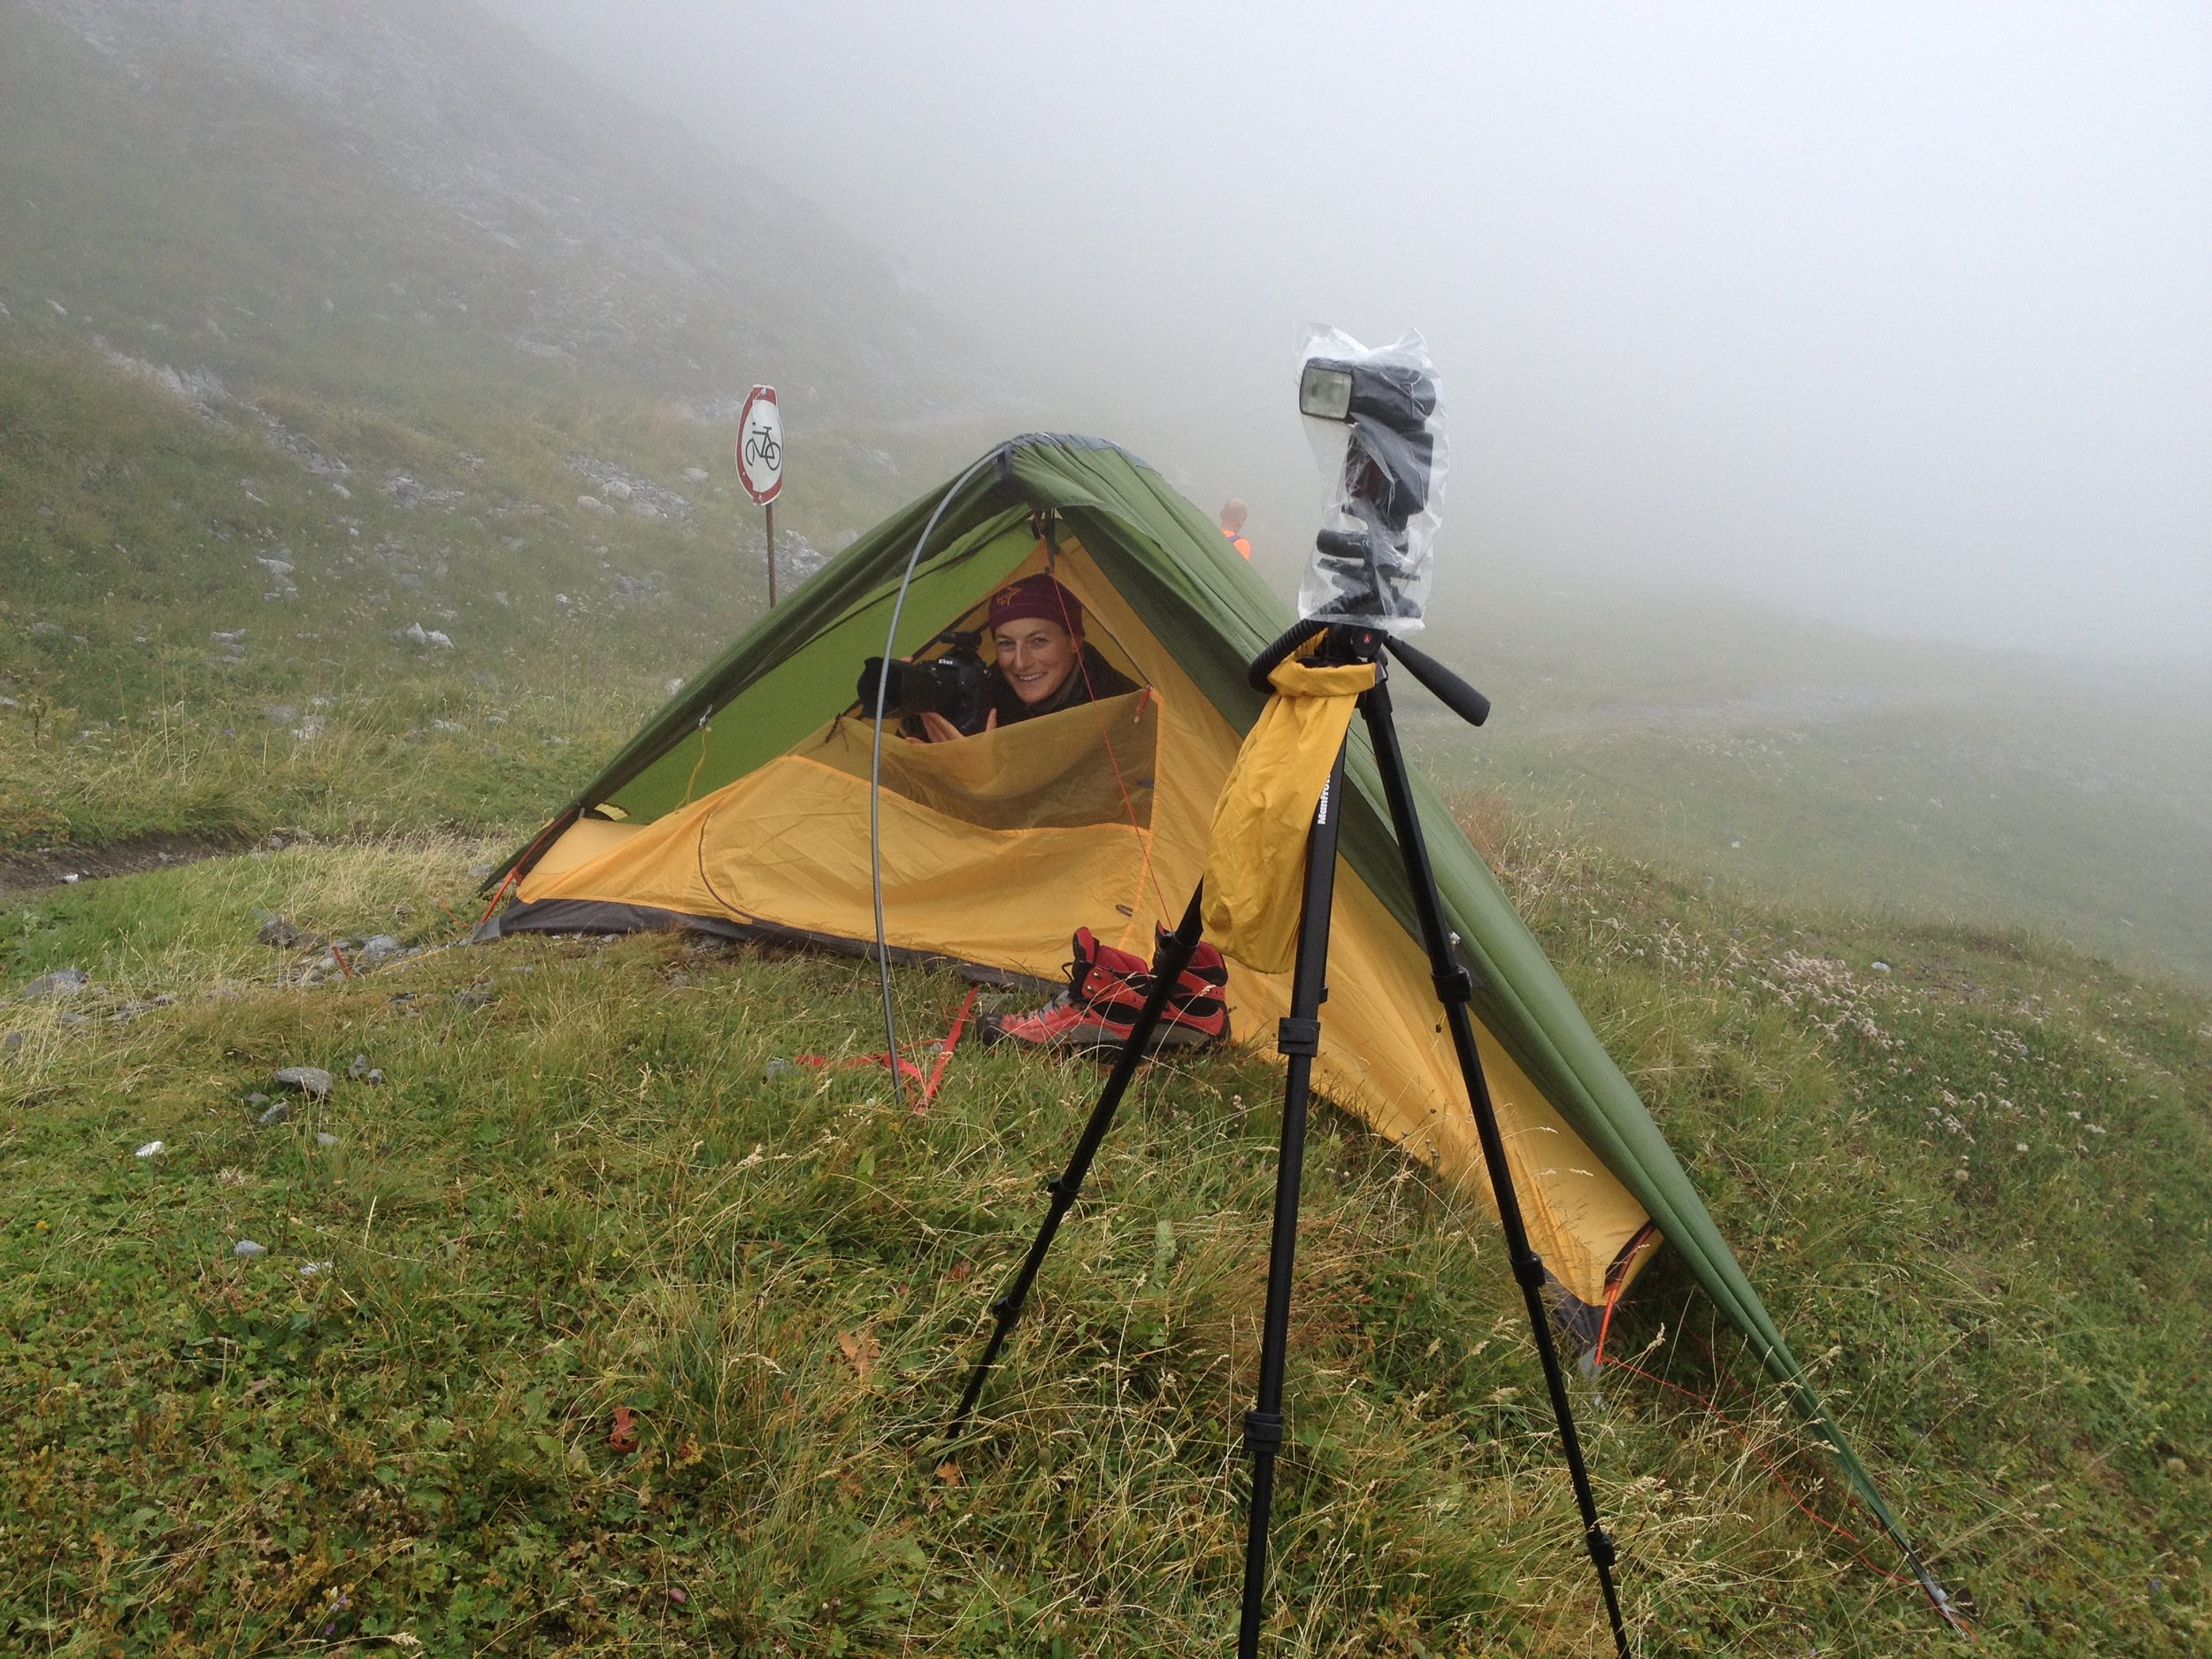
This step could also be called 'pre-production II' and starts about two or one weeks before the event. It's at this point that I start checking up to five different weather apps. I always hope for good weather, but I love the intensity of shots taken in bad weather too.
Weather
Equipment
Clothing, sunscreen, food and drinks, a first aid kit and a bike repair kit (if you are planning to use a bike)
Transportation
Customer requirements
Which pictures are a must?
Photo points
Photos from previous editions
Get enough sleep and stay healthy
Now is also the time to check that all your equipment is functional, that your batteries are charged and that you have enough memory cards. You should also consider how you will protect your gear against the elements. I often work out a detailed plan of the shots I would like to take and the photography gear I will need. This is especially important if you're not carrying all your gear with you all day and would like to travel light and store some gear elsewhere. As well as photography gear, it is also important to think about any extra clothing you will need, sunscreen (I once forgot to bring a hat and suffered sunstroke after the event), food and drinks, and a first aid kit. I haven't needed to use the kit during an event so far, but I have used my first aid knowledge more than once. Depending on the event, I plan how I will use my car, an e-bike, gondolas or my feet to reach a photo point. Don't forget coins for parking!
The short preparation time also includes reviewing the customer's requirements and answering any final questions. Have there been any changes? You should now have a clear idea of your 'must-haves' and how to shoot them.
Depending on various factors, you will decide whether to bring one or two cameras (I usually bring two for redundancy purposes).
If possible I will do a location scouting even if I have already been to the region. In some cases, I will have a rough idea where I will take a picture, in others I will have a very precise idea which rocks or flowers will make it into the picture. I will check these ideas with an app like PhotoPills to see where the sun will be at an estimated time of the day. I will also look out for little streams or puddles because these, combined with a bike rider or a runner, always make an interesting picture.
The short time preparation is also the right time to look at photos of previous editions and see what could be improved picture-wise.
Then it's important to get enough sleep and stay healthy...


Event day – make it happen!
One or multiple days.
Capture essential moments and find creative angles!
Remember your plan and stick to your timetable!
Organise your equipment.
Breathe!
Eat/drink.
Look around.
Be friendly to everyone.
Tag the best pictures on the camera.
When shooting an event where you can't stay in one place, your time is limited. Therefore, I always try to shoot the essentials first, and if there is more time, I try to find more creative angles (which can obviously be prepared to a certain degree). During the event, I don't usually look at my plan very often, but as I have worked on it for hours beforehand, I will have memorised most things by this point. If you're relying on transport that only runs every quarter of an hour or less, it's important to stick to your timetable!
Organising your equipment means you can travel light, but it also means you should try to keep everything clean and functional.
Shooting events can be stressful, so it's important to remind yourself to breathe, eat and drink, because the days are long and you need to stay on top of your game. Being well fed and hydrated is crucial for looking around, seeing interesting things, developing new creative ideas, and avoiding injury while on the course. It's also important to be friendly to everyone, as this will improve your experience and the experience of others!
Most event photographers go through their pictures several times during the event, so why not tag the best ones directly on the camera? Programmes like Photo Mechanic allow you to import these tags to your computer, making the selection process for social media much quicker. (Photo Mechanic is much quicker than Lightroom, for example.)
Sometimes, I also send pictures from my camera to my phone and then to my client during the day. These photos can then be shared on social media immediately.


After the event
After running around in the field, it's time to get back to your office.
Import pictures to your computer and back them up
Calibrate your monitor
Edit
Control your equipment
Take notes for the next event
Thank for the assignment
Write an invoice
Look forward to next assignments
I usually try to import my photos to a computer as quickly as possible, so that they are already in two places, which is obviously safer than having them in one place only. Then, as soon as I have time, I back them up to even more devices. I either keep hard drives in different locations or send them to the cloud. I think this is one of the most crucial steps in the whole process!
For the final edit, I always work on a calibrated monitor and I will also calibrate it before starting to work on the pictures. Then the time-consuming process of selecting the best images begins (but if you have already made a 'best of' selection for social media, you have a head start).
Once everything is ready for the next task, I will check my equipment and consider the whole experience. Finally, I will thank for the assignment, write my invoice and look forward to the next job!
I hope this article gives you some insight into the work of an event photographer and proves helpful for your next assignments! Which important steps would you add?